
Before & After | Artistic Photography
5:27:00 PM
Have I mentioned lately just how much I LOVE Adobe Lightroom?!! It's an amazing program where I usually do some minor touch ups for tone and exposure, plus it keeps my photos organized for me so I can find them amongst the thousands . . . (give the free trial of Lightroom 4 a spin . . .)
Then I usually open the current project up and do some editing in Photoshop. I really like to use many of the MCP actions for Photoshop, many of the Totally Rad actions . . . a little Florabella . . .
But today I wanted to feature something a little different!
For all you peeps out there who want to keep those expenses down (and when it comes to photography - WHO doesn't want to keep the expenses down? Oh the money that could be spent . . .)
I thought I would do a totally FREE edit from start to finish for you . . .
Yes, you can do some LOVELY things without spending any money!
Isn't THAT good news :D
I'm going to feature one of my FAVORITE websites -
Rita is the blogger behind CoffeeShop and a stay-at-home, home-schooling Mom to two naughty but adorable little boys (Duke is 7 and Imp is 4), wife to her high school sweetheart, and passionate about all things photography.And the best part about The Coffee Shop - Everything on her blog is 100% free!(although if you LOVE her products like I do - you can kick a little donation her way ordownload her MEGA action pack with the works in one download for $49 - one of the best bargains you'll find online!)

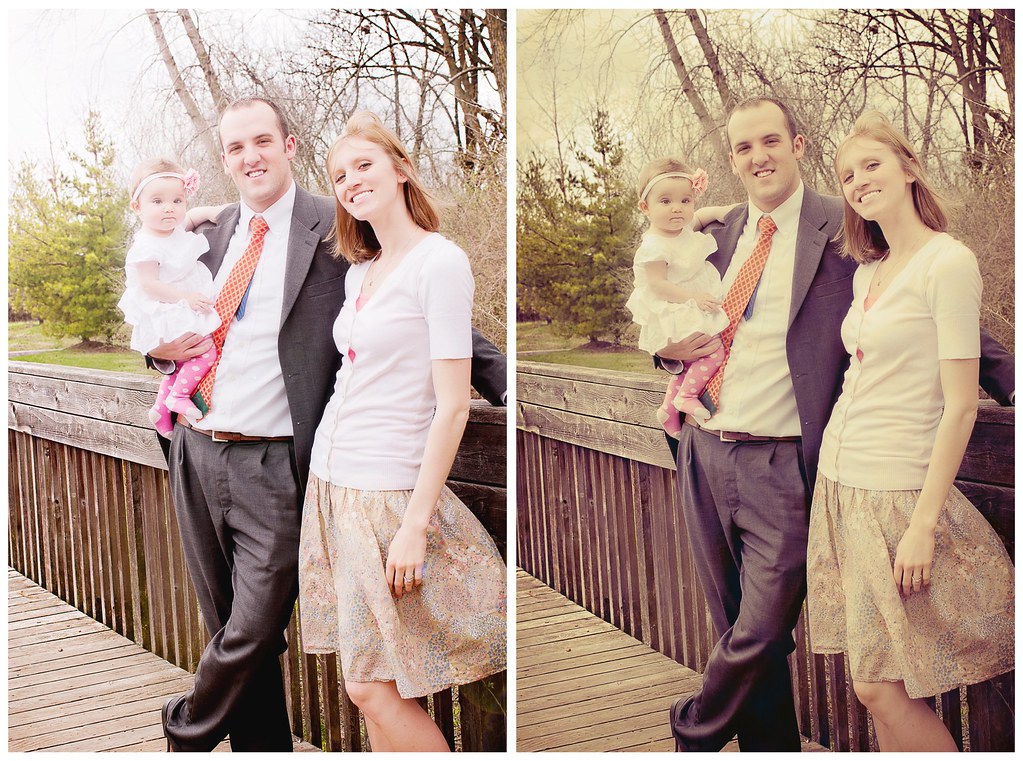 Rita has some really amazing actions for effects!

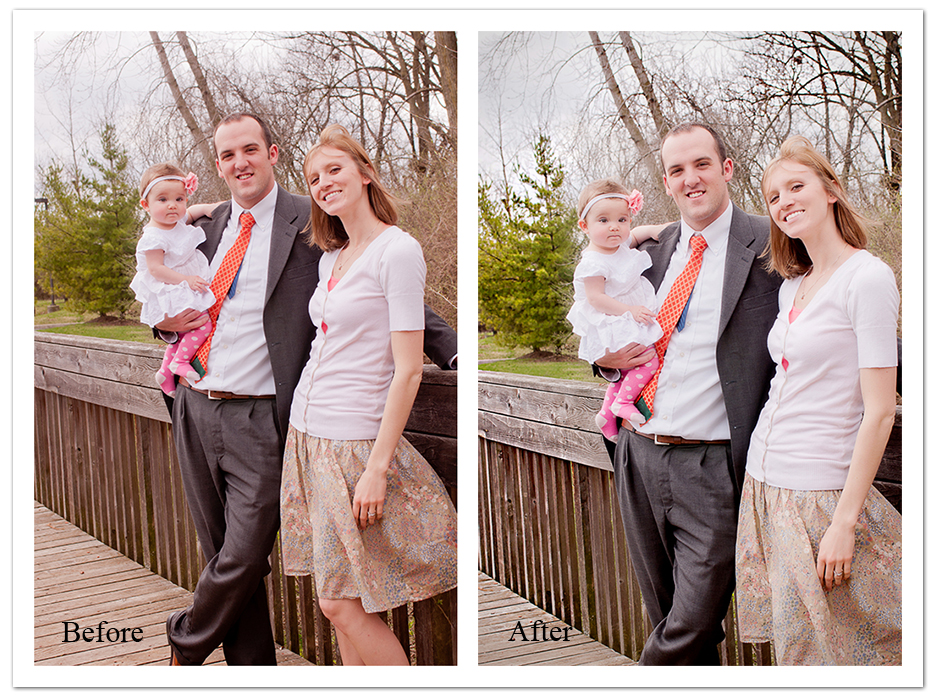
On the final before and after shot . . . (and of course . . . use the Before and After Storyboard action) for the after I brought things in a little closer with a crop
and added the the tiniest vingette with Coffeeshops Burn action.
Tah dah! :D


0 comments